I’m a cover designer: how do I upload my covers via The Book Cover Designer?
It’s easy! The first step is to register. Make sure to tick ‘Apply to become a designer?’ on the registration page.
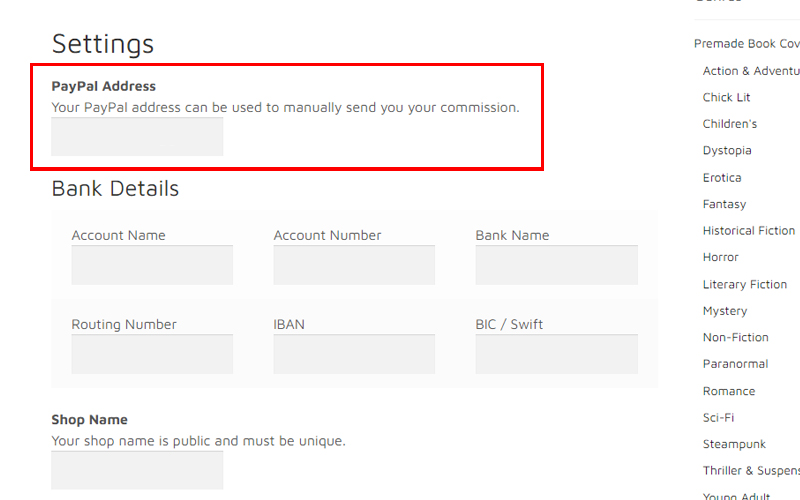
Once you’ve registered, your password will be emailed to you so you can log in. Please make sure to enter your PayPal email address as this is how we will pay you. You can do this from the Vendor Dashboard (accessible through the website’s footer) and then the Store Settings Page.
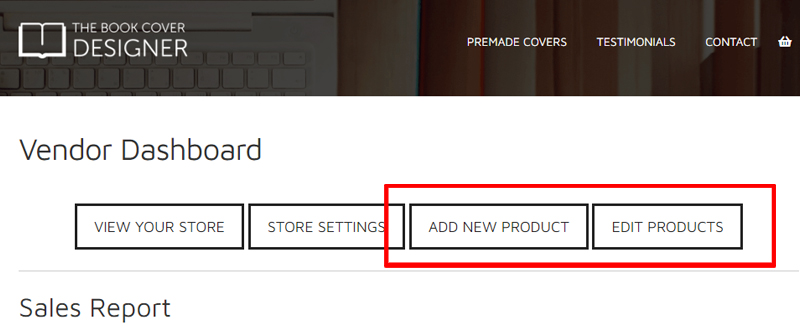
To add your covers, go the Vendor Dashboard. You can access it through the website’s footer. You can either go to Edit Products or Add New Product. Both options will take you to the submissions panel.
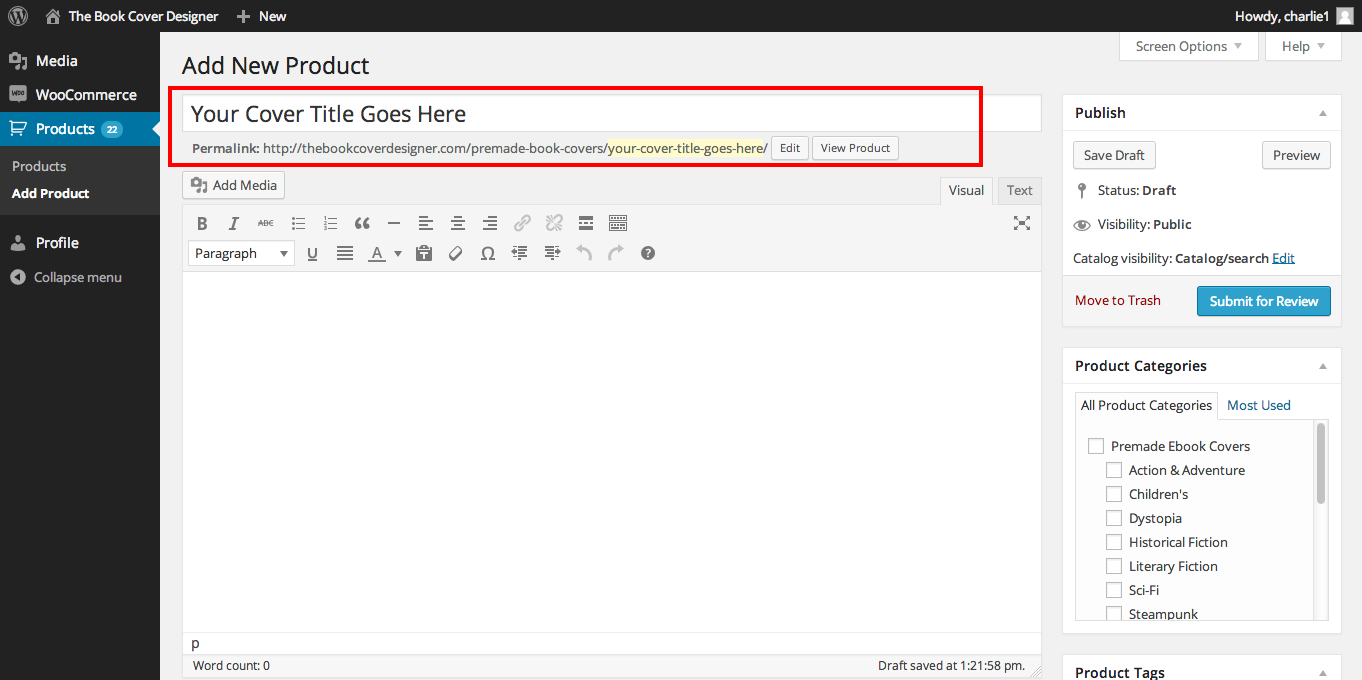
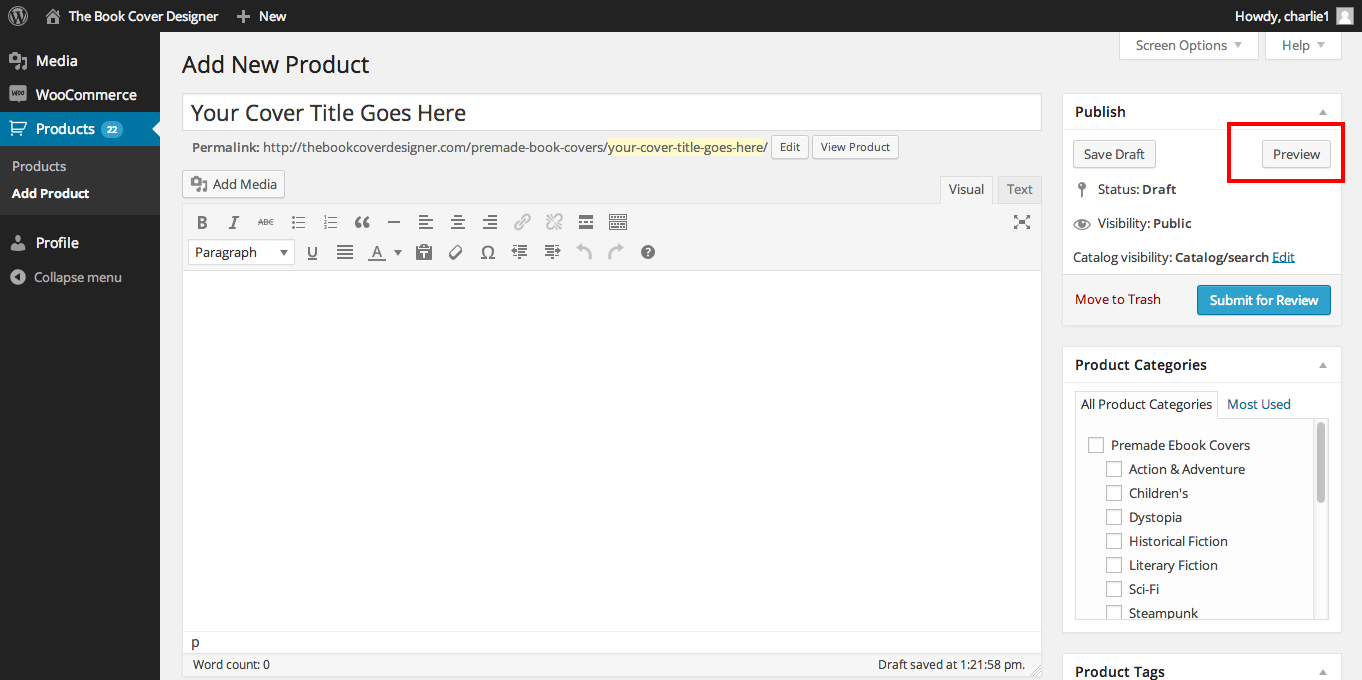
Let’s go through the listing process step by step. First of all, give your cover submission a title.
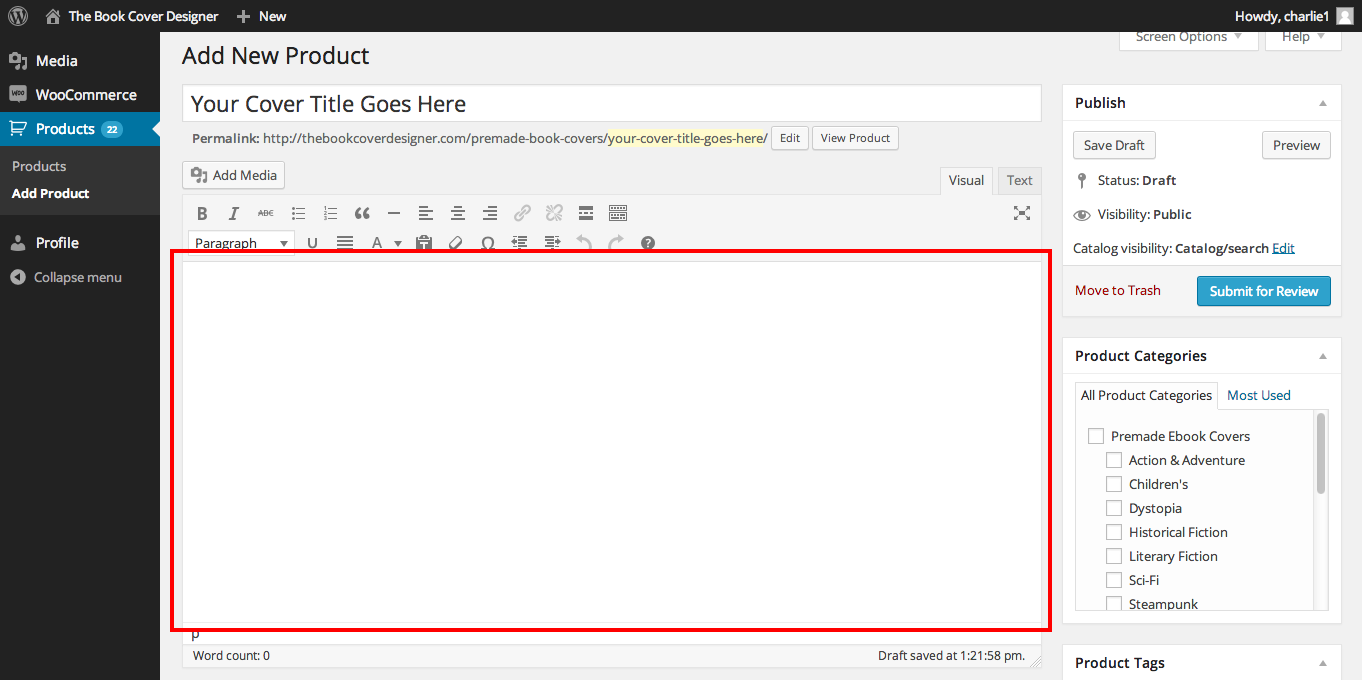
Next, you need to type in a description of your cover. You’re free to write as much or as little as you want. There are two places you can input this information.
Here:
Or here, under Product Short Description.
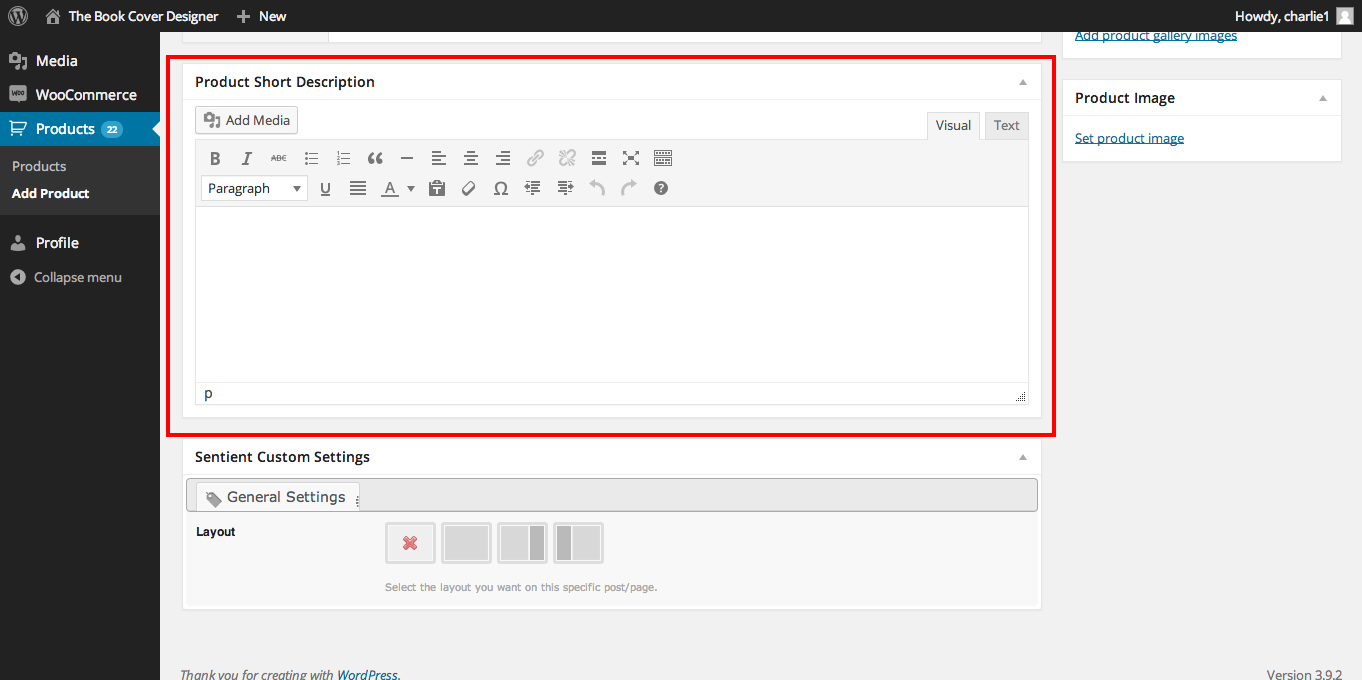
If you’re just writing a short description, we recommend using the Product Short Description box. You can see the difference by trying them and then hitting the Preview button.
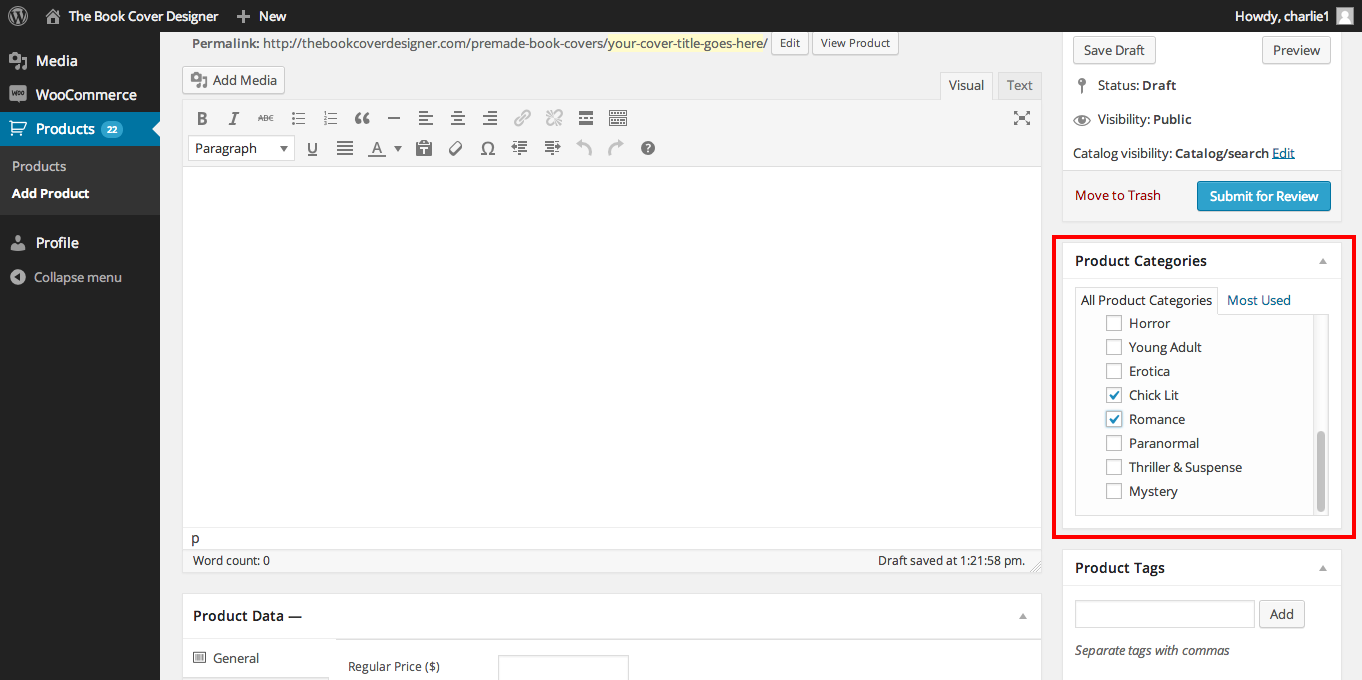
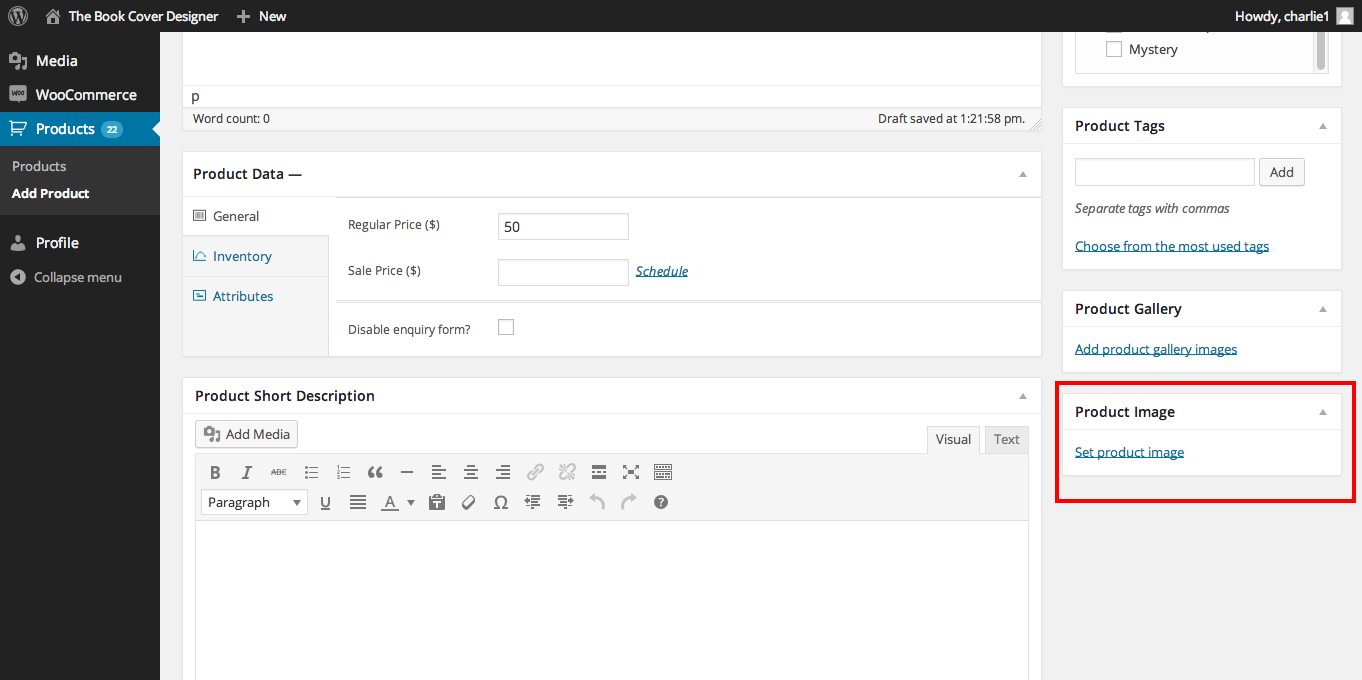
Next, tick the genres your cover belongs to from the Product Categories. Under the Product Categories is the Product Tags field. Here you can add keywords relevant to your cover, using either single-word tags (example, spaceship) or multi-word tags (example, angel wings). Use this field only for tags that are relevant to what your book cover displays, and avoid keyword-stuffing practices.
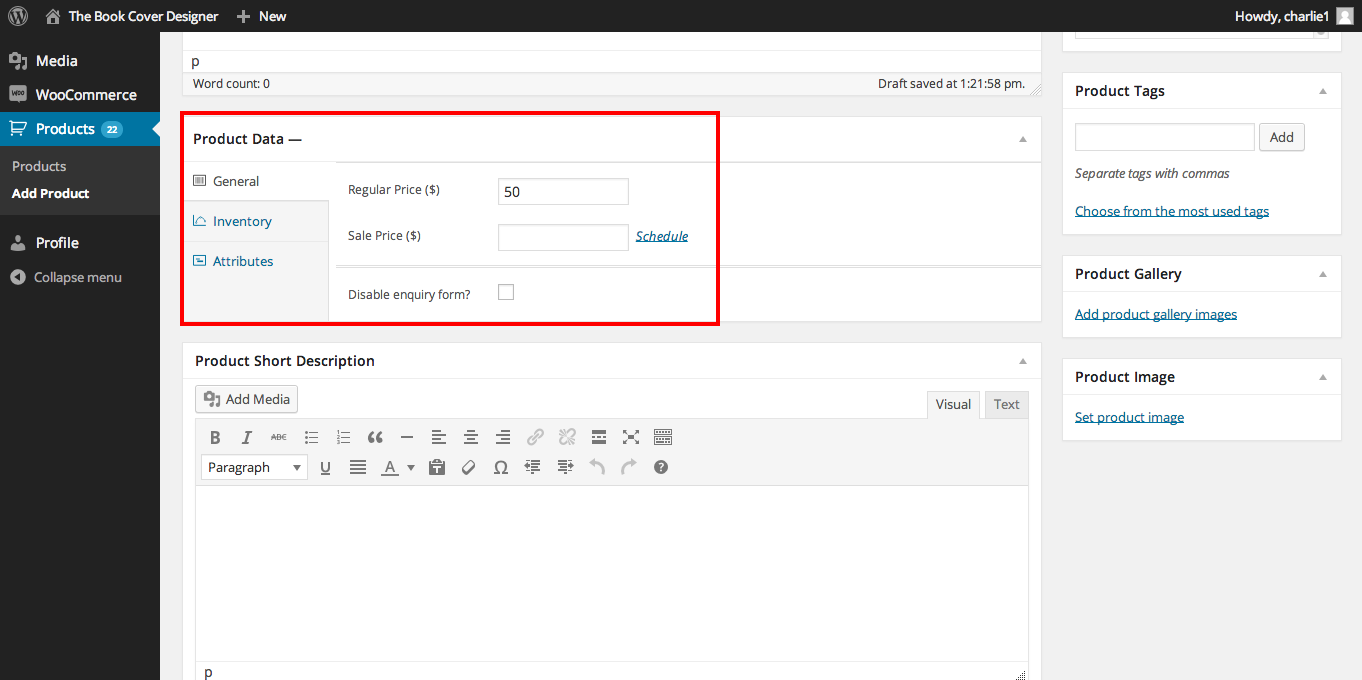
Time to choose your price! You can set a sale price if you’d like, and you can always change the price later.
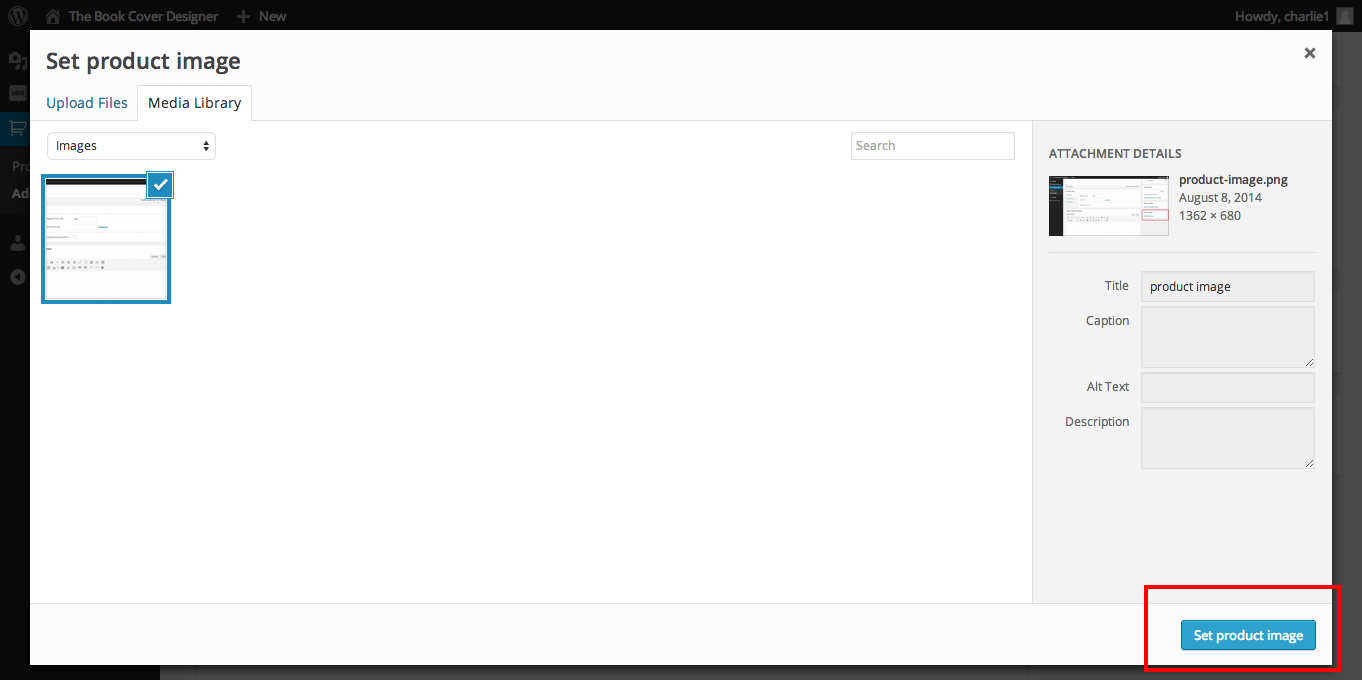
Set a Product Image so authors can see what your cover looks like. We recommend using a large rectangular image (max size 1800px by length). JPG, JPEG and PNG formats are supported. If you’re uploading a preview of the ebook cover and the print cover, the Product Image must show the ebook cover. All covers need to have mock-up text, so that customers can get a better idea of what your designs will look like when they grace their books. You can use fake made-up titles or you can use something simple like “Book Title”, “Title Goes Here”, etc.
IMPORTANT NOTE FOR ILLUSTRATORS:
If you’re an illustrator who digitally paints covers from scratch, you must upload an additional verification image from the Product Gallery option above the Product Image option. This is to ensure you’re not using AI instead of painting the images yourself. The verification image must be a collage of 6 screenshots, each of them showing different stages of your painting’s work in progress. If you’ve used 3D modeling software like Blender, DAZ, etc. as the base of your painting, you should include wireframes among the other screenshots in the collage.
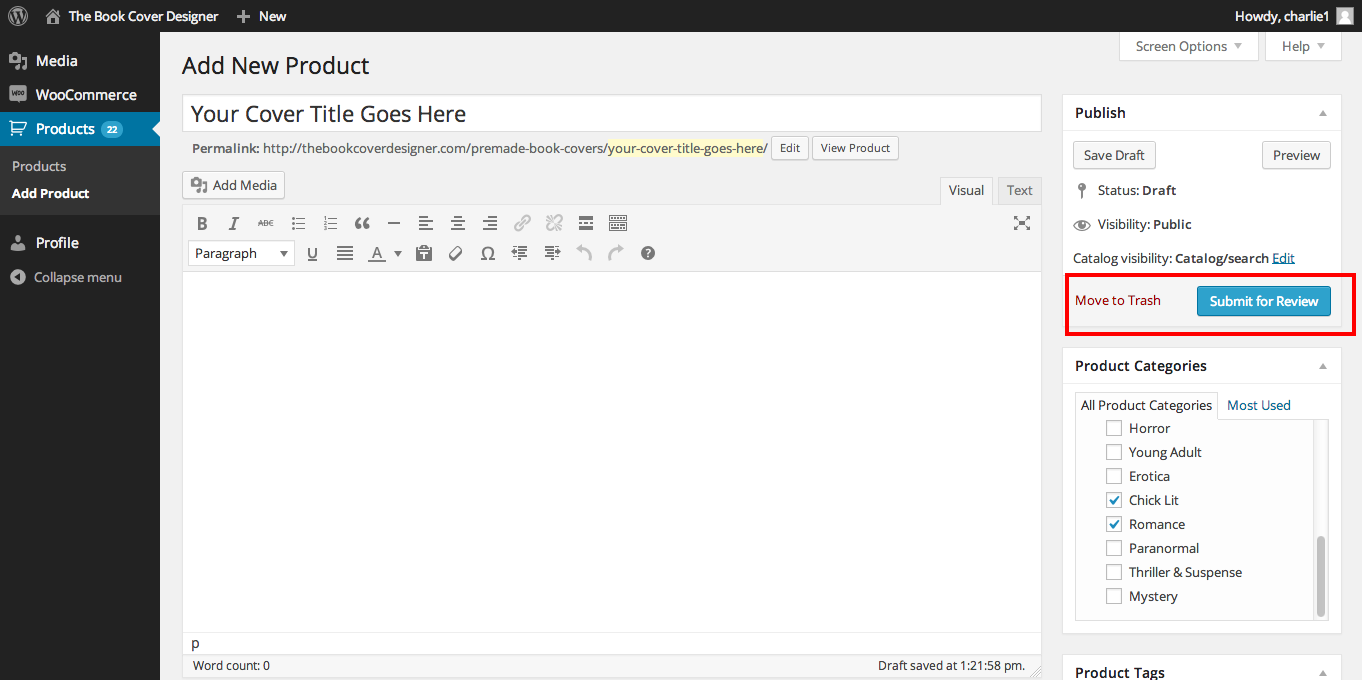
Congratulations! You are now ready submit your cover for review. This is where one of us reads through your listing just to check all the important bits are present and the quality of the design is up to our standards. This is usually done within 6 days of receiving your submission.
What happens next? Every time you sell a cover, you’ll receive an email invoice. Look for a note on the invoice about the customer’s author name and book title. If there isn’t one, email the customer (their address will be on the invoice) for that information. Once you have it, add it to the cover. Finally, send the cover to the customer.
More questions? Contact us.